Jul 29, 2010

Kyosho RB5 part 1

Last night I started cleaning up my RB5. Out of all the cars I've owned/raced, this one is by far my favorite. This is a very well used car, with easily hundreds of runs put on it at the track.
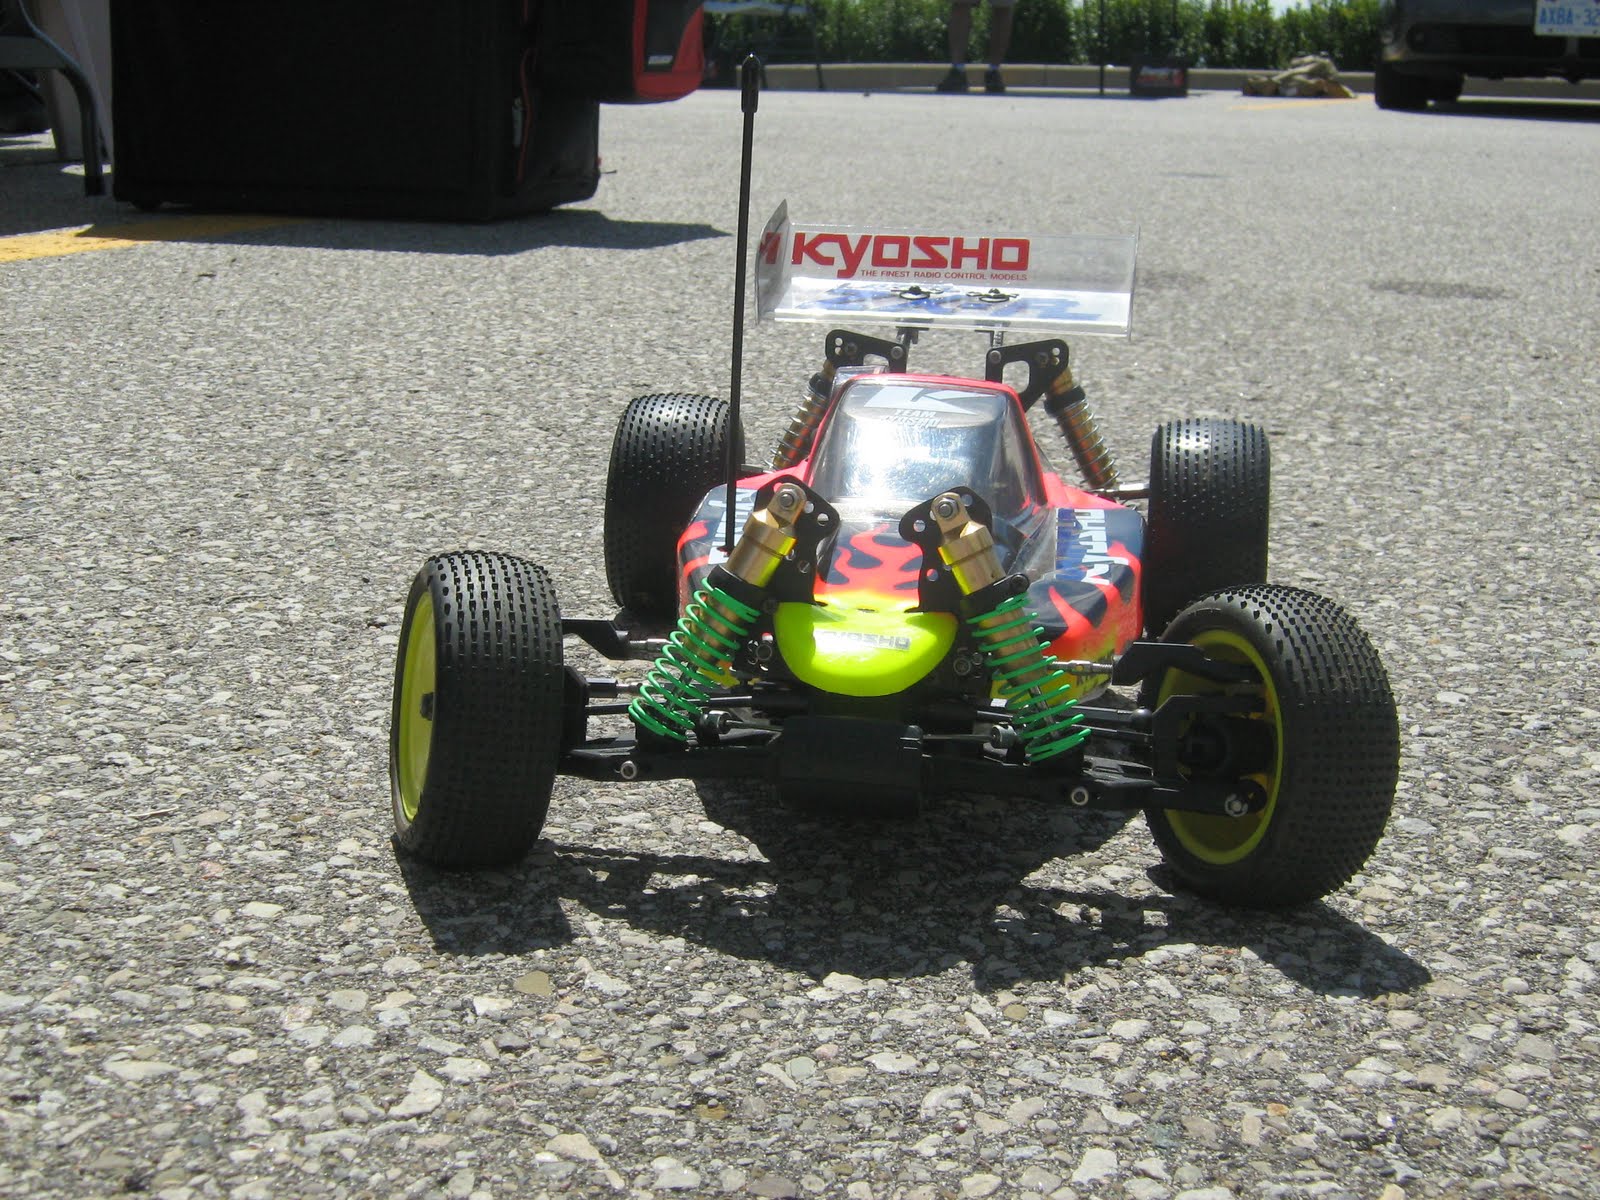
We're going to try and get a 2WD tarmac buggy class going at the FCD this Sunday. The electronics were already stripped from it back in April, and it was still covered in the brown carpet fuzz from FastCats indoor offroad track. There was also shock oil covering all four corners of the car due to some leaky shocks.


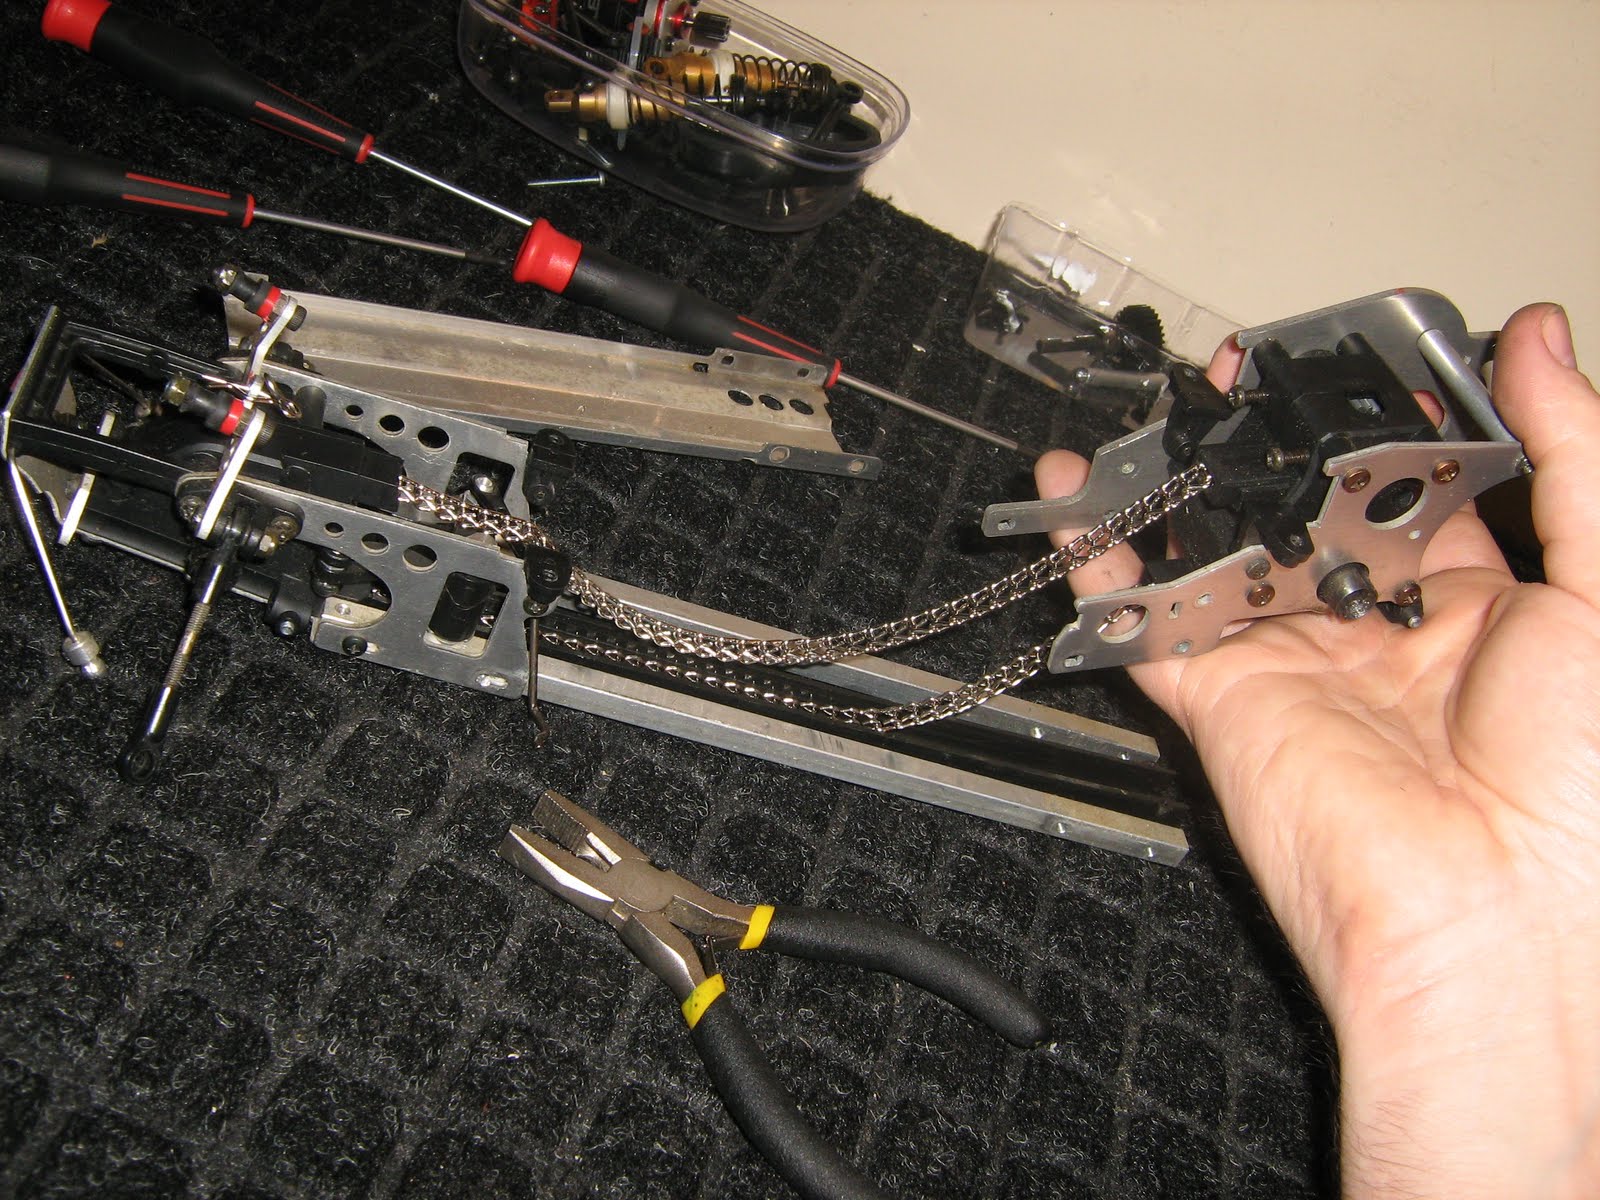
When taking of the gearbox, I remember I cracked my T-plate during the last couple of weeks at FastCats. I've c.a.'d (glued) the crack together... this should stay together for me well enough on the tarmac track, until I get around to picking up a new one.


Normally to clean my car, the RB5 and I would enjoy a romantic candle-lit bubble bath. (that's how much I love my RB5) For the sake of the reader, I opted instead for the less sexy laundry room sink method. I also wash the arms, uprights etc like this too, but I remove things like bearings and cvds first. Using compressed air to blast out water from any tight spots works well, but sitting the parts in front of a fan for a few minutes works well too.


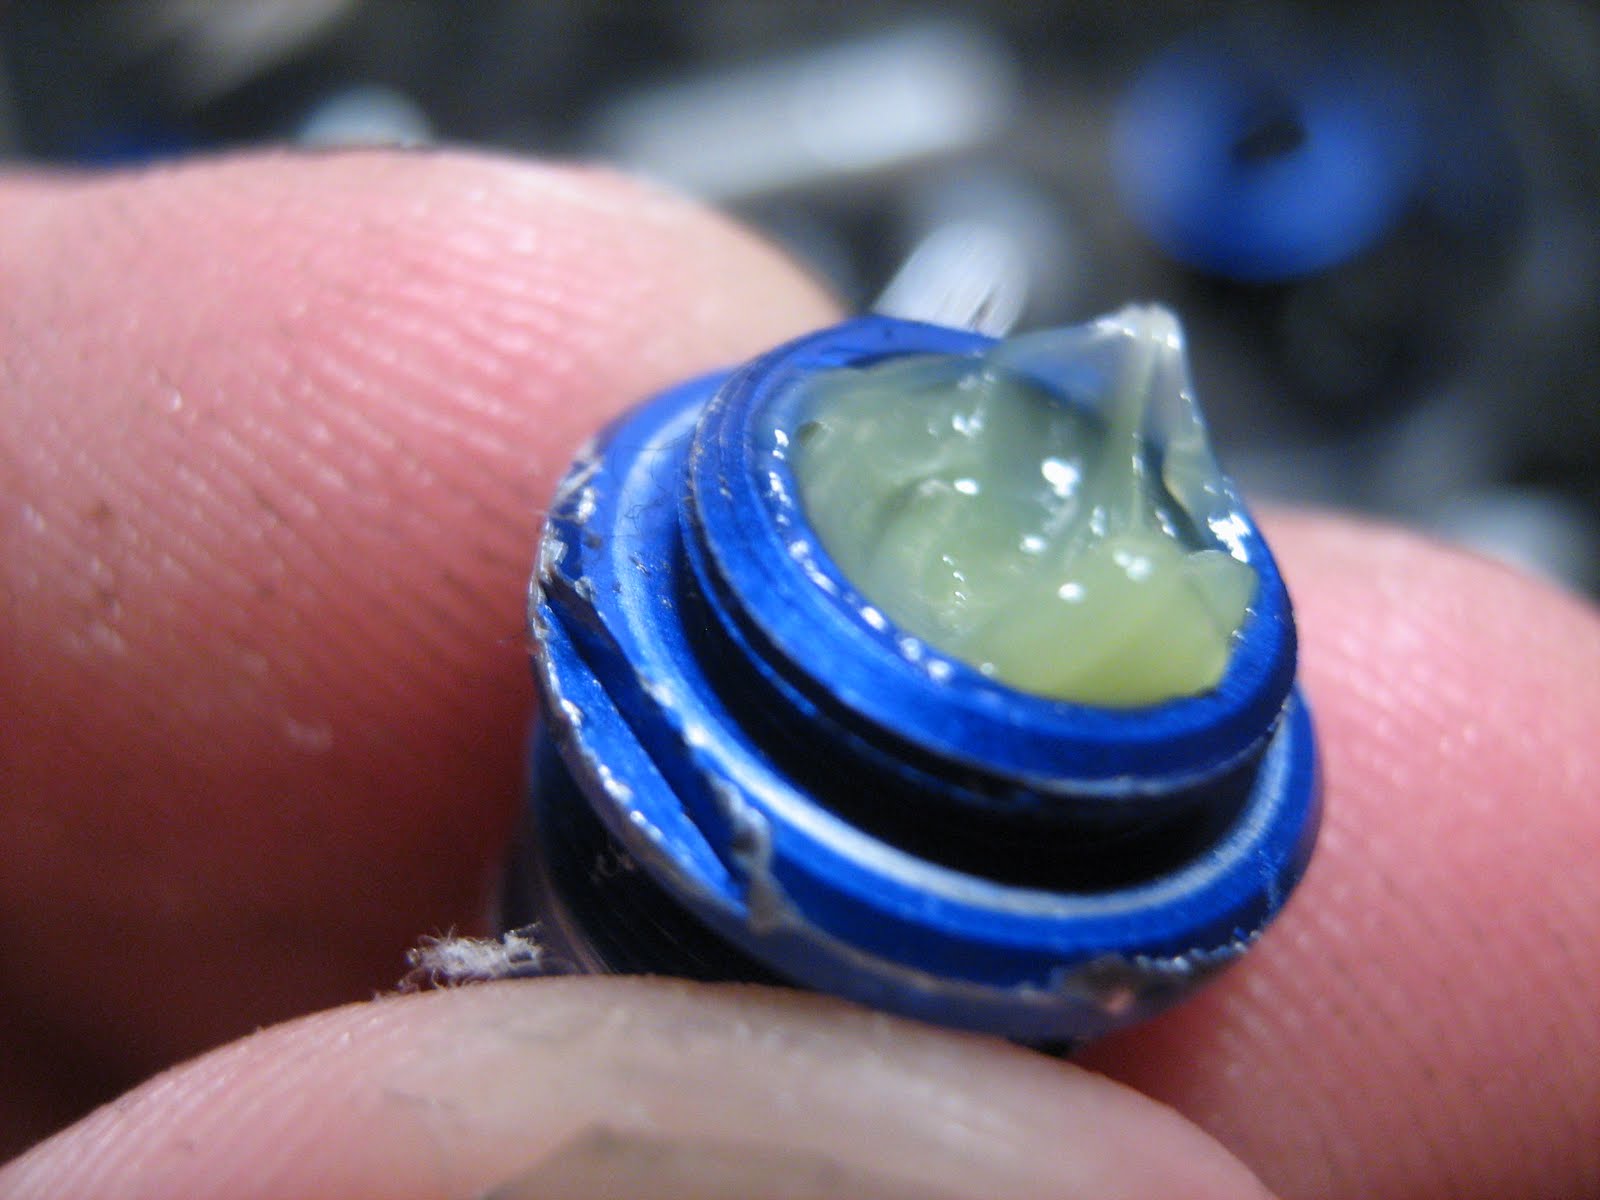
Next come the shocks. They're covered in oil, the collars and shock body threads are completely gunked up. I scrubbed all the parts inside and out with ivory soap before putting them back together.


Until I get around to buying a rebuild kit for my shocks, a little of Team Associated's 'green slime' should get me through at least one or 2 Sundays worth of racing. Also, I need to pick up some more springs for my RB5, seeing as I'd stolen the ones from these shocks to use on my SB-V2. The white springs shown here are the Academy's, and they are way too soft.


And here we all, ready to reinstall the electronics. I've got racing tonight, so I probably won't have time to do it until Saturday morning.

Tim.

Jul 27, 2010

Kyosho Gallop 4WS part 2

The motor was upgraded at some point to this Parma/Yokomo modified motor. I'm not sure how many turns it is, but it was probably considerably faster than the stock motor. The ad said it came with custom aluminum wheels... it just didn't mention it only came with 3. One of the rear wheels is plastic.


The Kyosho tag molded into the rear gear box is a nice touch.


I thought the Turbo Optima`s external gearbox was busy... The gallop has 6! And yes, those are wood screws in the last picture.


And last, here`s a video showing how the 4 wheel steering is supposed to work.

Tim.

Jul 26, 2010

Kyosho Gallop 4WS part 1

While searching the local online classifieds for Kyosho this afternoon, I came across a Kyosho Gallop 4WS for sale in Whitby. After work, I headed out to pick it up. The Gallop is supposed to be a 4WD, 4 wheel steering buggy. I say 'supposed to be', because it looks like this buggy has been neither of those things for a very long time. This car is in such rough shape, I'm not sure if I will bother trying to restore it, if I will keep it as-is, or if I will sell it to someone who is a little more brave than I am in the restoration department. I`ll probably just clean it up as much as I can and shelf it, just so I can say I own a Gallop. :P


This car is in very rough shape. Whatever parts aren't missing, are most likely broken or bent. The front bumper is broken, and the chain is missing. One of the few pluses that came with this buggy is the fact the it`s got a manual/wiper speed control. I`ll most likely it for use in my Turbo Optima.


The front gearbox and differential are missing, and the front of the car looks to be largely held together with some sort of glue/epoxy. The body/roll cage is also missing parts.

I'll post the rest of the pics and a couple of videos tomorrow.
Tim.

Kyosho Lazer ZXR

At this Sunday's FCD (FastCats Depot) race, Super-Pit co-founder Bill Jones brought his old skool Kyosho Lazer ZXR for me to check out.


Released in the early-to-mid 90's, it is the little brother to the Optima, and big brother to the Lazer ZX5.


The last picture is my Optima, next to the ZXR.

Tim.

Jul 24, 2010

Spektrum S6040

I put one of my new servos into my SB-V2 today. It's a Spektrum S6040, and it's fast!


It's pretty slick-looking. There's an aluminum band around the centre of the servo. I think it may be a heat-sink


The first time I tried using it, I had gotten some unfortunate results. If I quickly turned the servo from left to right 3 or 4 times, my Spektrum receiver would bug out, causing both my steering & throttle to severely glitch.

This problem was solved by plugging a capacitor (also by Spectrum) into the battery terminal of my receiver.


Here's a vid showing the speed:


I'll test it out tomorrow, at FastCats Depot race.
Tim.

Jul 16, 2010

Optima Rebuild Progress + FastCats

I didn't get much of a chance to put any more of the Optima together over the past couple of nights. Just a little more work to go before it is up and running. Here's a pic of what it looks like right now:


Last night we were racing at the FastCats Depot. (Located in the Home Depot parking lot, on Billy Bishop way, in Toronto) Here are couple of videos:


Tim.

Jul 14, 2010

Optima tear-down part 2

Next, out comes the motor and front and rear suspension.
After removing the rest of the external gears, I see one of the gears is actually a slipper clutch. Most of the clutch's assembly is on the inside of the gearbox, instead of the outside, like most of today's cars. It is, however, still adjustable by a nut on the outside of the gearbox.

Next it's time to remove/open the rear gearbox. This is where I am expecting to find the only problems with this car. When I turn the front wheels, I can hear the chain slipping, and the rear wheels don't turn. After opening the gearbox, all the gears and sprockets look good, but the outdrives spin freely, suggesting a problem inside. However, right before I open up the diff, I notice the set screw on one of the outdrives is almost completely loose. Once I tighten it all the way down, the diff works fine. Haza!


This is what the car looks like now:


The next step will be to clean up the parts,rebuild the shocks, and then put it back together again. Later tonight, I will upload all the pics I took during the tear down.

Tim.